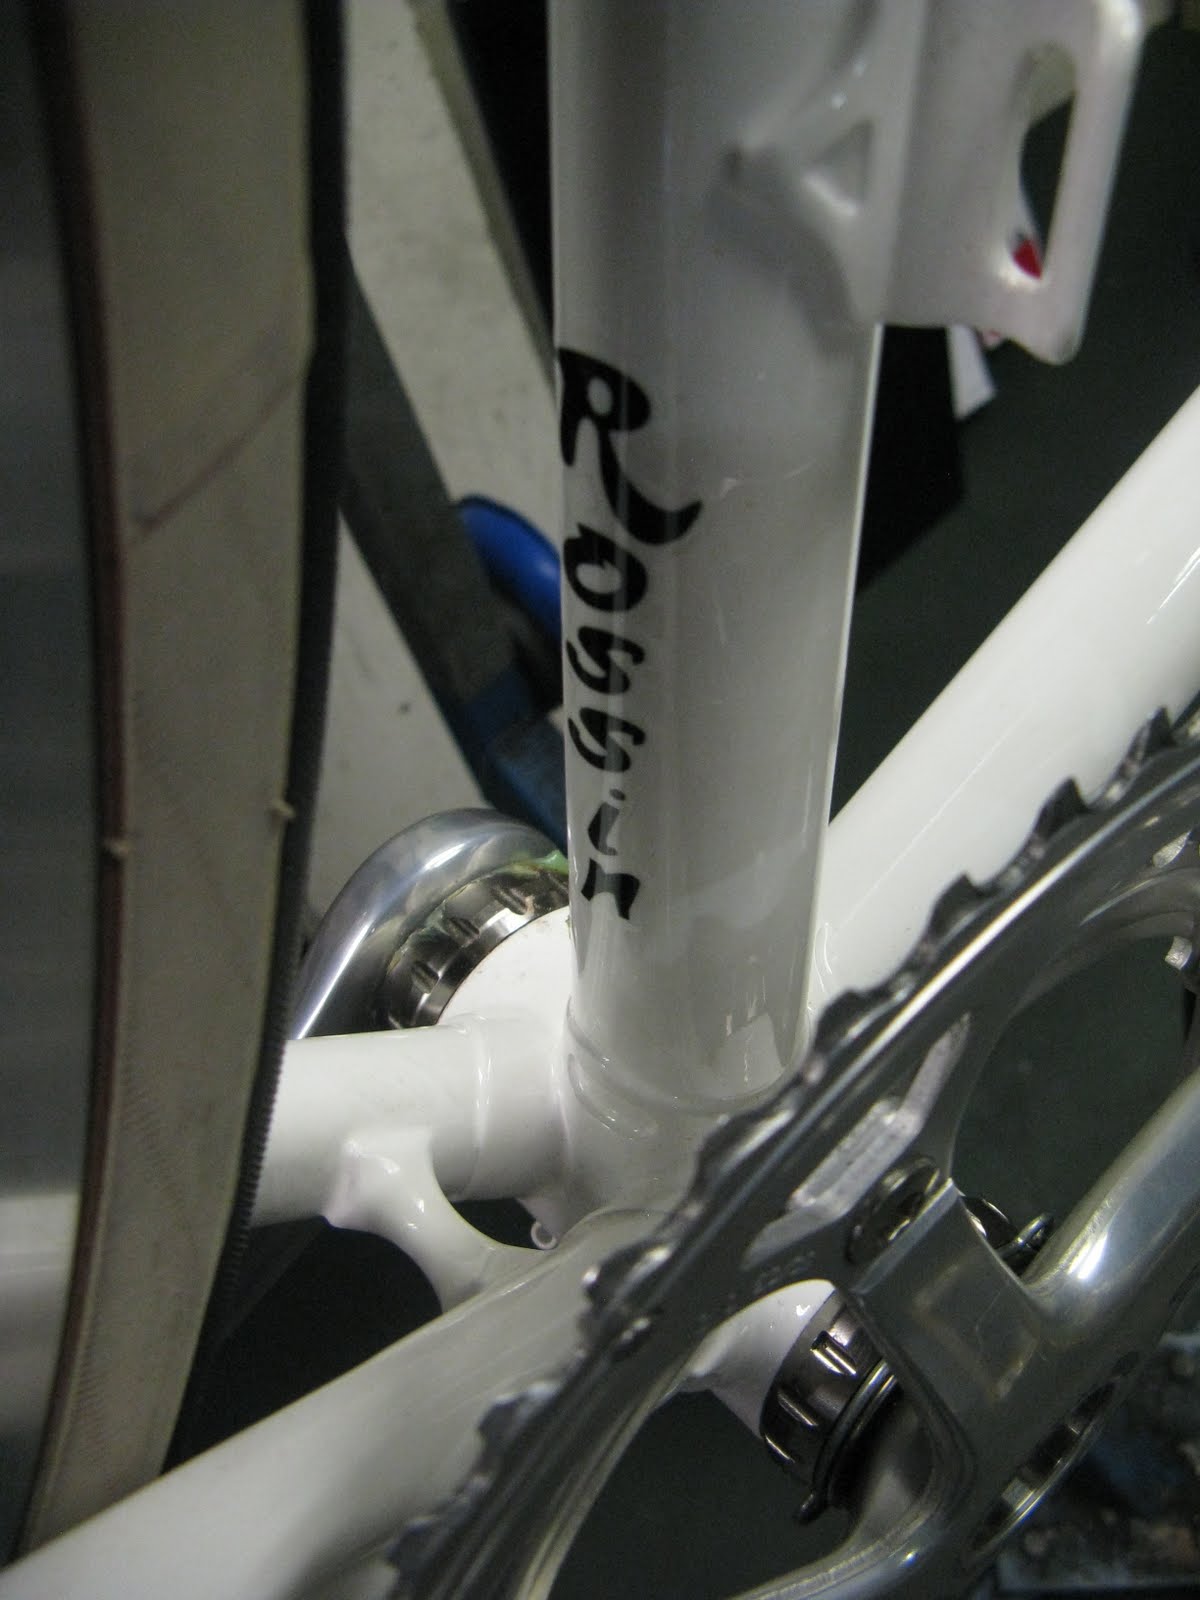
Here's a submission from Glen Lane from Southern California.
I'll let him give you the history of the bike in his own words.
I'ts probably the best restoration project I've seen. What do you think? Are there any ways the bike could be improved, other than those mentioned by Glen?
Please leave a comment.
Please leave a comment.

My name is Glen Lane and I live in Southern California, USA. I
have attached 6 pictures of my recent restoration project of an early
1980's vintage Rossin Record. My story is rather simple and I will share it with you.
I began racing bicycles in the early 1980's and
purchased my Rossin at that time. I raced using my Rossin from about
1983 to 1988 at which time I gave up riding and racing to focus on my
career. I  kept my Rossin for the next 25 years, sometimes in the
garage, sometimes in a closet, and one time in bags in the attic. It
has sentimental value which is why I have never let it go.
kept my Rossin for the next 25 years, sometimes in the
garage, sometimes in a closet, and one time in bags in the attic. It
has sentimental value which is why I have never let it go.
I retired about a year ago and purchased I high end carbon bike and have been logging 150 to 200 miles a week and I ride with Team Velocity, a local club.
Late last year I ran across your website and was very inspired by the collection of Rossins. I was so moved by what I saw, I decided to restore my Rossin, piece by piece by piece.
The result is in the pictures. I have used the Rossin on a couple of rides, which has been an amazing feeling and it sure turns heads.
My wife does not want me to ride it but rather, put it on display in our living room!

1. The bike has a full Campy Super Record Groupset

Other notes.... My only regret is that I could not find some vintage rims so, I used a plain set of Mavic Open Pros however, I am still on the lookout for some old school rims in good condition.
I found a company that makes slotted cleats with a modern shoe hole pattern. This makes riding the bike a lot of fun! Last, I added a set Campy dust caps to the crank which you'll see in the pictures.

 As a final note, very few parts are new. I opted to
strip, polish, re-chrome, and re-anodize many of the components including well
over 100 tiny nuts and bolts. The frame was stripped, re-chromed, and
painted.
As a final note, very few parts are new. I opted to
strip, polish, re-chrome, and re-anodize many of the components including well
over 100 tiny nuts and bolts. The frame was stripped, re-chromed, and
painted.
Nice one Glen!


 kept my Rossin for the next 25 years, sometimes in the
garage, sometimes in a closet, and one time in bags in the attic. It
has sentimental value which is why I have never let it go.
kept my Rossin for the next 25 years, sometimes in the
garage, sometimes in a closet, and one time in bags in the attic. It
has sentimental value which is why I have never let it go. I retired about a year ago and purchased I high end carbon bike and have been logging 150 to 200 miles a week and I ride with Team Velocity, a local club.
Late last year I ran across your website and was very inspired by the collection of Rossins. I was so moved by what I saw, I decided to restore my
 Rossin, piece by piece by piece.
 The result is in the pictures. I have used the Rossin on a couple of rides, which has been an amazing feeling and it sure turns heads.
My wife does not want me to ride it but rather, put it on display in our living room!

1. The bike has a full Campy Super Record Groupset
2. Freewheel is a Regina Extra including the a Regina Extra
Chain
4. 64-40 Cinelli handle bars
5. Campy cables
6. Campy toe clips and Alfredo Binda toe straps
7. Concor Supercorsa S. Marco saddle

Other notes.... My only regret is that I could not find some vintage rims so, I used a plain set of Mavic Open Pros however, I am still on the lookout for some old school rims in good condition.
I found a company that makes slotted cleats with a modern shoe hole pattern. This makes riding the bike a lot of fun! Last, I added a set Campy dust caps to the crank which you'll see in the pictures.


Nice one Glen!